How to Customize a Ceramic Mug with Handle
To customize a ceramic mug with a handle, a ceramics factory typically follows these steps based on the characteristics of the handle:
1. Design phase: The factory works closely with the client or their design team to understand specific customization requirements, such as the shape, size, and style of the handle. This could involve creating sketches, 3D models, or prototypes to ensure the desired outcome.
2. Material selection: The factory chooses the appropriate ceramic material based on the design requirements and desired characteristics of the handle, such as durability, heat resistance, and aesthetics. Common ceramic materials used for mugs include stoneware, porcelain, and earthenware.
3. Mold creation: A mold is made for the mug body, and a separate mold is created for the handle. The mold for the handle is typically designed to accommodate the shape, size, and attachment points required to securely affix it to the mug.
4. Clay preparation: The selected ceramic clay is prepared by mixing it with water and other additives to achieve the desired consistency. This clay mixture is then used for both the mug body and the handle.
5. Forming the mug: Using the molds, the factory forms the mug body by pouring or pressing the clay into the mold cavity. The excess clay is trimmed and refined to create the desired shape, ensuring that there is a designated area for attaching the handle.
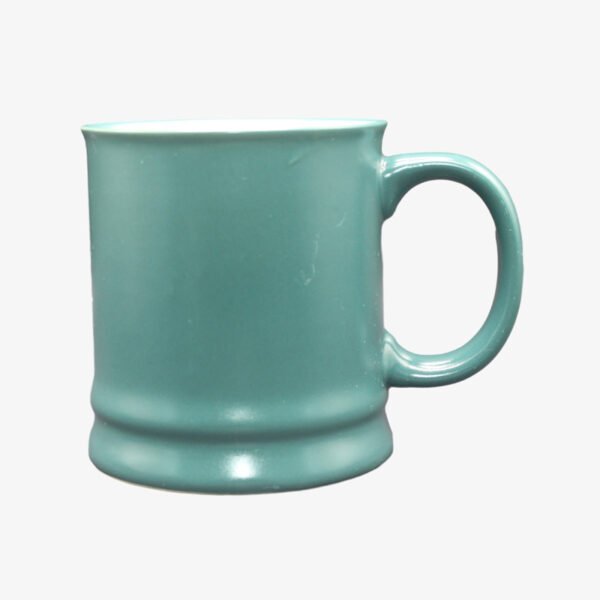
6. Handle attachment: The factory attaches the pre-formed handle to the mug body by applying slip (a clay-water mixture) or using other suitable ceramic adhesives. Proper alignment and support are crucial to ensure a secure and aesthetically pleasing connection.
7. Drying and refinement: The assembled mug is left to dry slowly to avoid cracking or warping. Afterward, it undergoes further refinement, such as smoothing rough edges, removing imperfections, and adding any additional decorative elements.
8. Firing: The mug is placed in a kiln and subjected to high temperatures in a controlled firing process. This process solidifies the ceramic material, strengthens it, and ensures it retains its shape.
9. Glazing and decoration: If desired, the mug can be dipped, sprayed, or painted with glazes to achieve specific colors, textures, or protective coatings. Custom designs or logos can also be added through techniques like screen printing or decal application.
10. Final firing: The glazed mug undergoes a final firing process to set the glaze and enhance its durability. The firing temperature and duration depend on the chosen glaze and ceramic material used.
11. Quality control: The factory inspects the finished mugs for any defects, checking the handle’s attachment, overall appearance, and quality. Any flawed or damaged mugs are discarded or reworked.
12. Packaging and shipping: Finally, the customized ceramic mugs are packaged according to the client’s specifications and prepared for shipping to their desired destinations.
Overall, customization of a ceramic mug with a handle involves careful design, skillful craftsmanship, and the use of appropriate materials and techniques to create a functional and aesthetically pleasing product.